Horse Class Tier List: Ultimate Dead Rails Rankings
Author : Hunter
Apr 24,2025
If you're eager to explore the vast world of Dead Sails and achieve impressive distances without facing death too often, choosing the right class is crucial. To save you from endless trial-and-error, I've crafted the ultimate Dead Rails class tier list for you. Let's dive in and see which classes will help you conquer the game.
Recommended Videos
Table of contents
All Dead Rails Class Tier List S Tier Dead Rails Classes A Tier Dead Rails Classes B Tier Dead Rails Classes C Tier Dead Rails Classes D Tier Dead Rails Classes
All Dead Rails Class Tier List
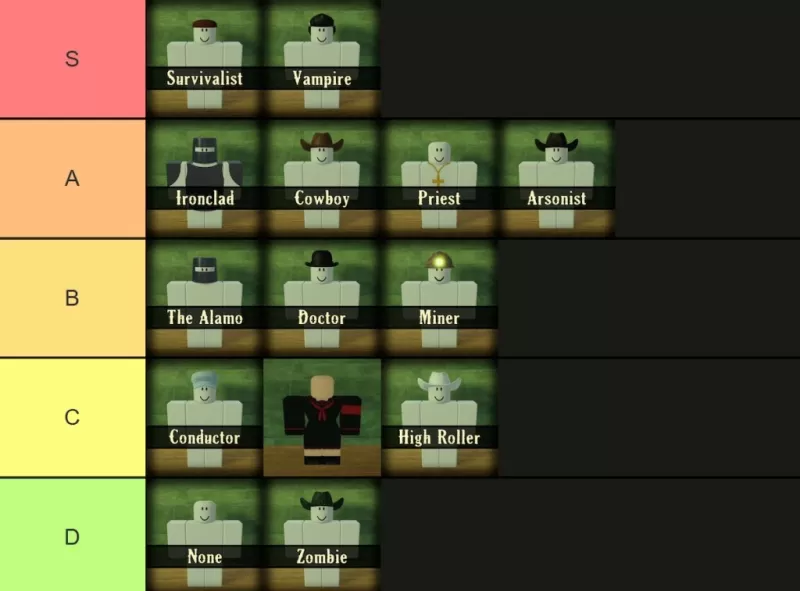
I know this Dead Rails class tier list might stir up some debate, but that's part of the fun! You simply can't go wrong with the Vampire, even after the numerous updates we've seen. Meanwhile, the Survivalist has surged in popularity recently. It's disappointing, however, that the Zombie class remains underwhelming and can't even drink Snake Oil. Teamwork also plays a role, but let's focus on individual class strengths. Remember, the goal is to enjoy the game with friends, not just to min-max your stats.
S Tier Dead Rails Classes
The cream of the crop, these classes excel in raw damage output. The Survivalist and Vampire are the top dogs here, with the Ironclad trailing slightly behind.
| **Name** | **Cost** | **Info** |
| Survivalist | 75 | The Survivalist starts with a Tomahawk and gets more powerful as your health drops. Even at full health, you deal more damage than others, though this might be nerfed soon. It's perfect for tackling tough enemies that don't go down easily. |
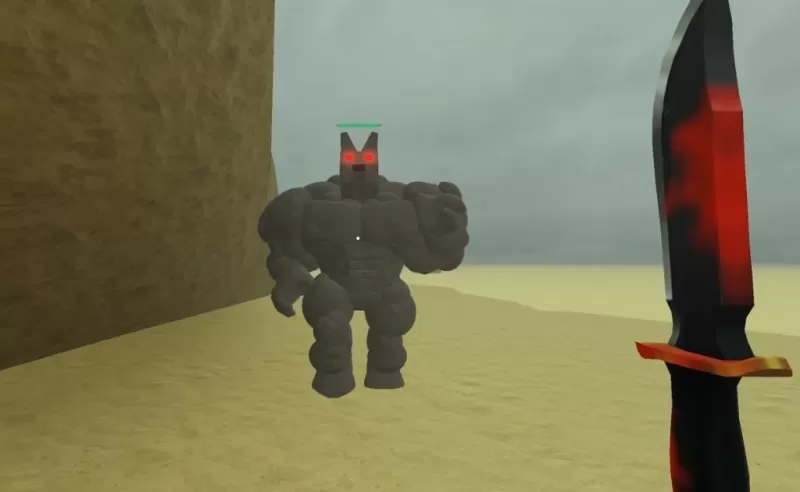
| Vampire | 75 | The Vampire is all about speed and aggression. Faster than a horse or sprinting zombie, with melee hits that take down most zombies in three swings. Sunlight is a weakness, but the Vampire Knife heals you with each hit, making survival about maintaining the offensive. |
A Tier Dead Rails Classes
These classes are excellent but not quite as dominant in solo survival. They still offer strong damage and starting gear, making them valuable in group play. Ironclad stands out with significant potential.
| **Name** | **Cost** | **Info** |
| Ironclad | 100 | The Ironclad comes with full armor, making you much harder to kill but slightly slower. Not ideal for solo runs, but great in teams, especially with shotguns for close-quarters combat. |
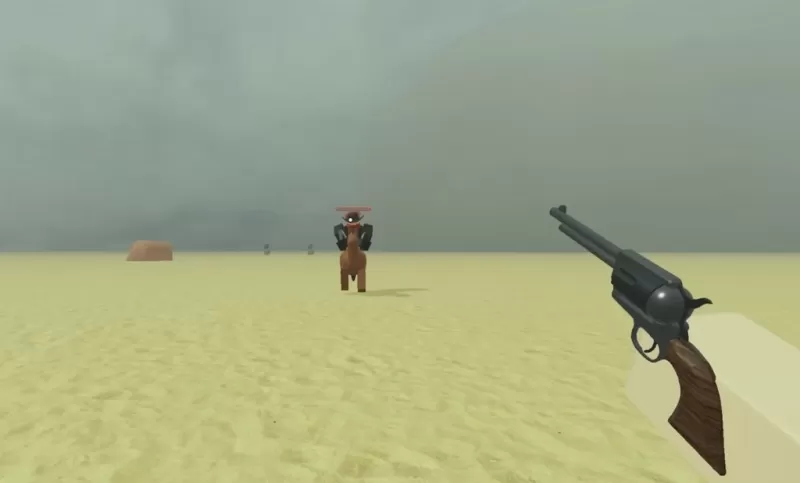
| Cowboy | 50 | The Cowboy starts with a revolver, ammo, and a horse, making early fights easier and offering speed to survive chaos, especially during Blood Moon nights. Selling the revolver can boost your initial loadout. |
| Priest | 75 | The Priest uses Crucifixes and Holy Water, immune to lightning. Not suited for solo play, but invaluable in larger groups where their throwables can turn the tide. |
| Arsonist | 20 | The Arsonist excels in chaos with Molotovs and boosted fire damage, ideal for clearing groups quickly in smaller areas. A horse enhances their hit-and-run style. |
B Tier Dead Rails Classes
These classes are specialists, shining in specific situations. The Doctor offers great support at a low cost, but you wouldn't choose it for direct damage.
| **Name** | **Cost** | **Info** |
| The Alamo | 50 | The Alamo is perfect for fortifying the Train with Sheet Metal, Barbed Wire, and a helmet. Great for holding the line and slowing down enemy waves. |
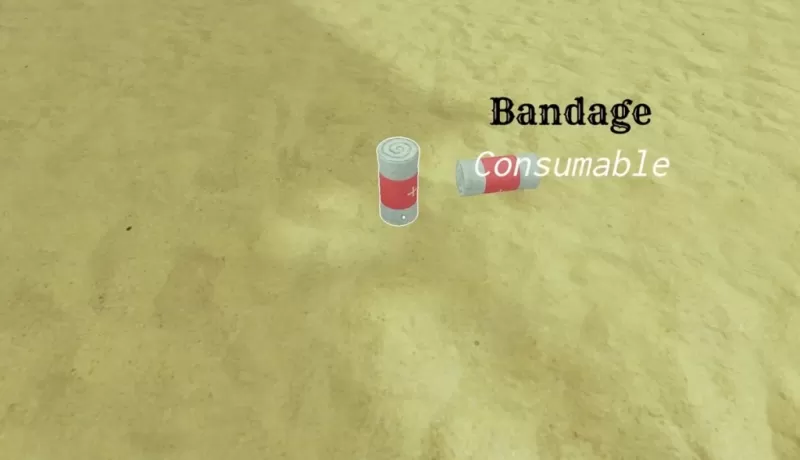
| Doctor | 15 | The Doctor provides essential healing and revival capabilities, costing half their health to revive a teammate. Affordable and invaluable in group play, selling bandages and snake oil can give a $40 boost. |
| Miner | 15 | The Miner is ideal for resource gathering and nighttime exploration, equipped with a helmet and Pickaxe for quick ore collection. While not combat-focused, their utility is unmatched. |
C Tier Dead Rails Classes
These classes offer good utility but are less effective solo. The Conductor is almost essential in large groups, while the Horse class is more of a novelty.
| **Name** | **Cost** | **Info** |
| Conductor | 50 | The Conductor controls the Train's speed, starting with Coal and reaching up to 84 speed. Vulnerable early on without a melee weapon, they're crucial for group mobility and no longer take a health hit. |
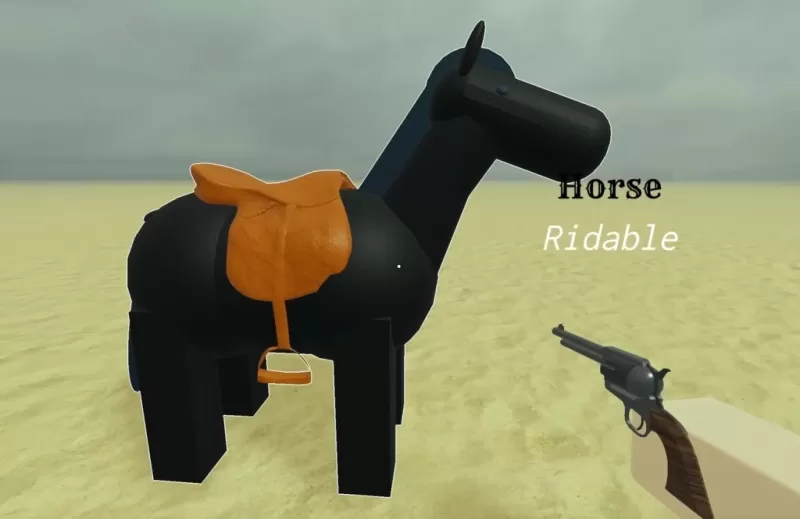
| Horse | Unlockable through the Horsing Around gamemode | The Horse Class transforms you into a horse, with standard horse stats and challenges in tight spaces. You can ride players but not the train or other horses. |
| High Roller | 50 | The High Roller earns 1.5x money from bags, ideal for fast cash accumulation but vulnerable to lightning strikes during storms. A high-risk, high-reward choice. |
D Tier Dead Rails Classes
These classes are at the bottom of the barrel. The default None class is basic but good for beginners, while the Zombie class remains underwhelming.
| **Name** | **Cost** | **Info** |
| None | Free | The None class is the default, equipped with just a shovel. No perks or drawbacks, it's a blank slate for learning and saving up bonds before choosing a class. |
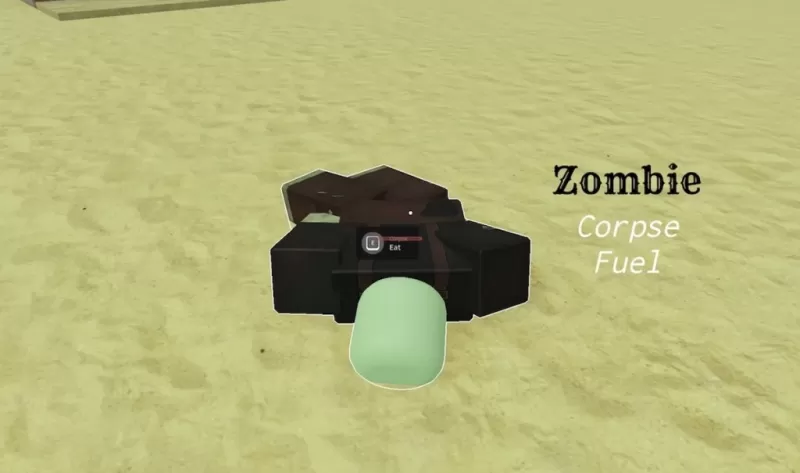
| Zombie | 75 | The Zombie heals by feeding on corpses and can slip past enemies, but lacks access to Bandages or Snake Oil. While it has stealth and sustainability, it remains ineffective overall. |
That's the complete rundown! I hope this Dead Rails class tier list helps you break records and dominate mobs effortlessly. Don't forget to use Dead Rails codes and take on Dead Rails challenges. Stay tuned for what the next update might bring!
Latest Articles
Skyrim Library Hardcover Set: $49.99 Sale
Even 14 years after its initial release, The Elder Scrolls V: Skyrim remains one of the most celebrated RPGs, offering an immersive world rich with lore. For fans eager to delve deeper into this universe, The Skyrim Library is an essential addition to their collection. This three-volume set, now ava

Cloudheim Coming to PC, PS5, Xbox Series X|S
Developer Noodle Cat Games has unveiled an exciting new title, Cloudheim, set to launch in 2026 for PC, PS5, and Xbox Series X|S. This multiplayer action-adventure/survival/crafting game promises an immersive experience with its distinctive Zelda-like art style and innovative physics-based combat sy
Sunset Hills to Launch on Android, iOS in Early June
Pre-registrations for Sunset Hills opened back in February, and now CottonGame has announced the official launch date. Mark your calendars for June 5th, when this enchanting point-and-click adventure will be available on Android and iOS. Sunset Hills invites players into a painterly world that combi
"Another Eden Ends Main Story Part 3: Aldo's New Style, 8,000 Chronos Stones Available"
Wright Flyer Studios has just rolled out an exciting new update for Another Eden: The Cat Beyond Time and Space, bringing fans the much-anticipated finale of Main Story Part 3. This release aligns perfectly with the game's 8th-anniversary celebrations, offering players a chance to snag up to 8,000 C
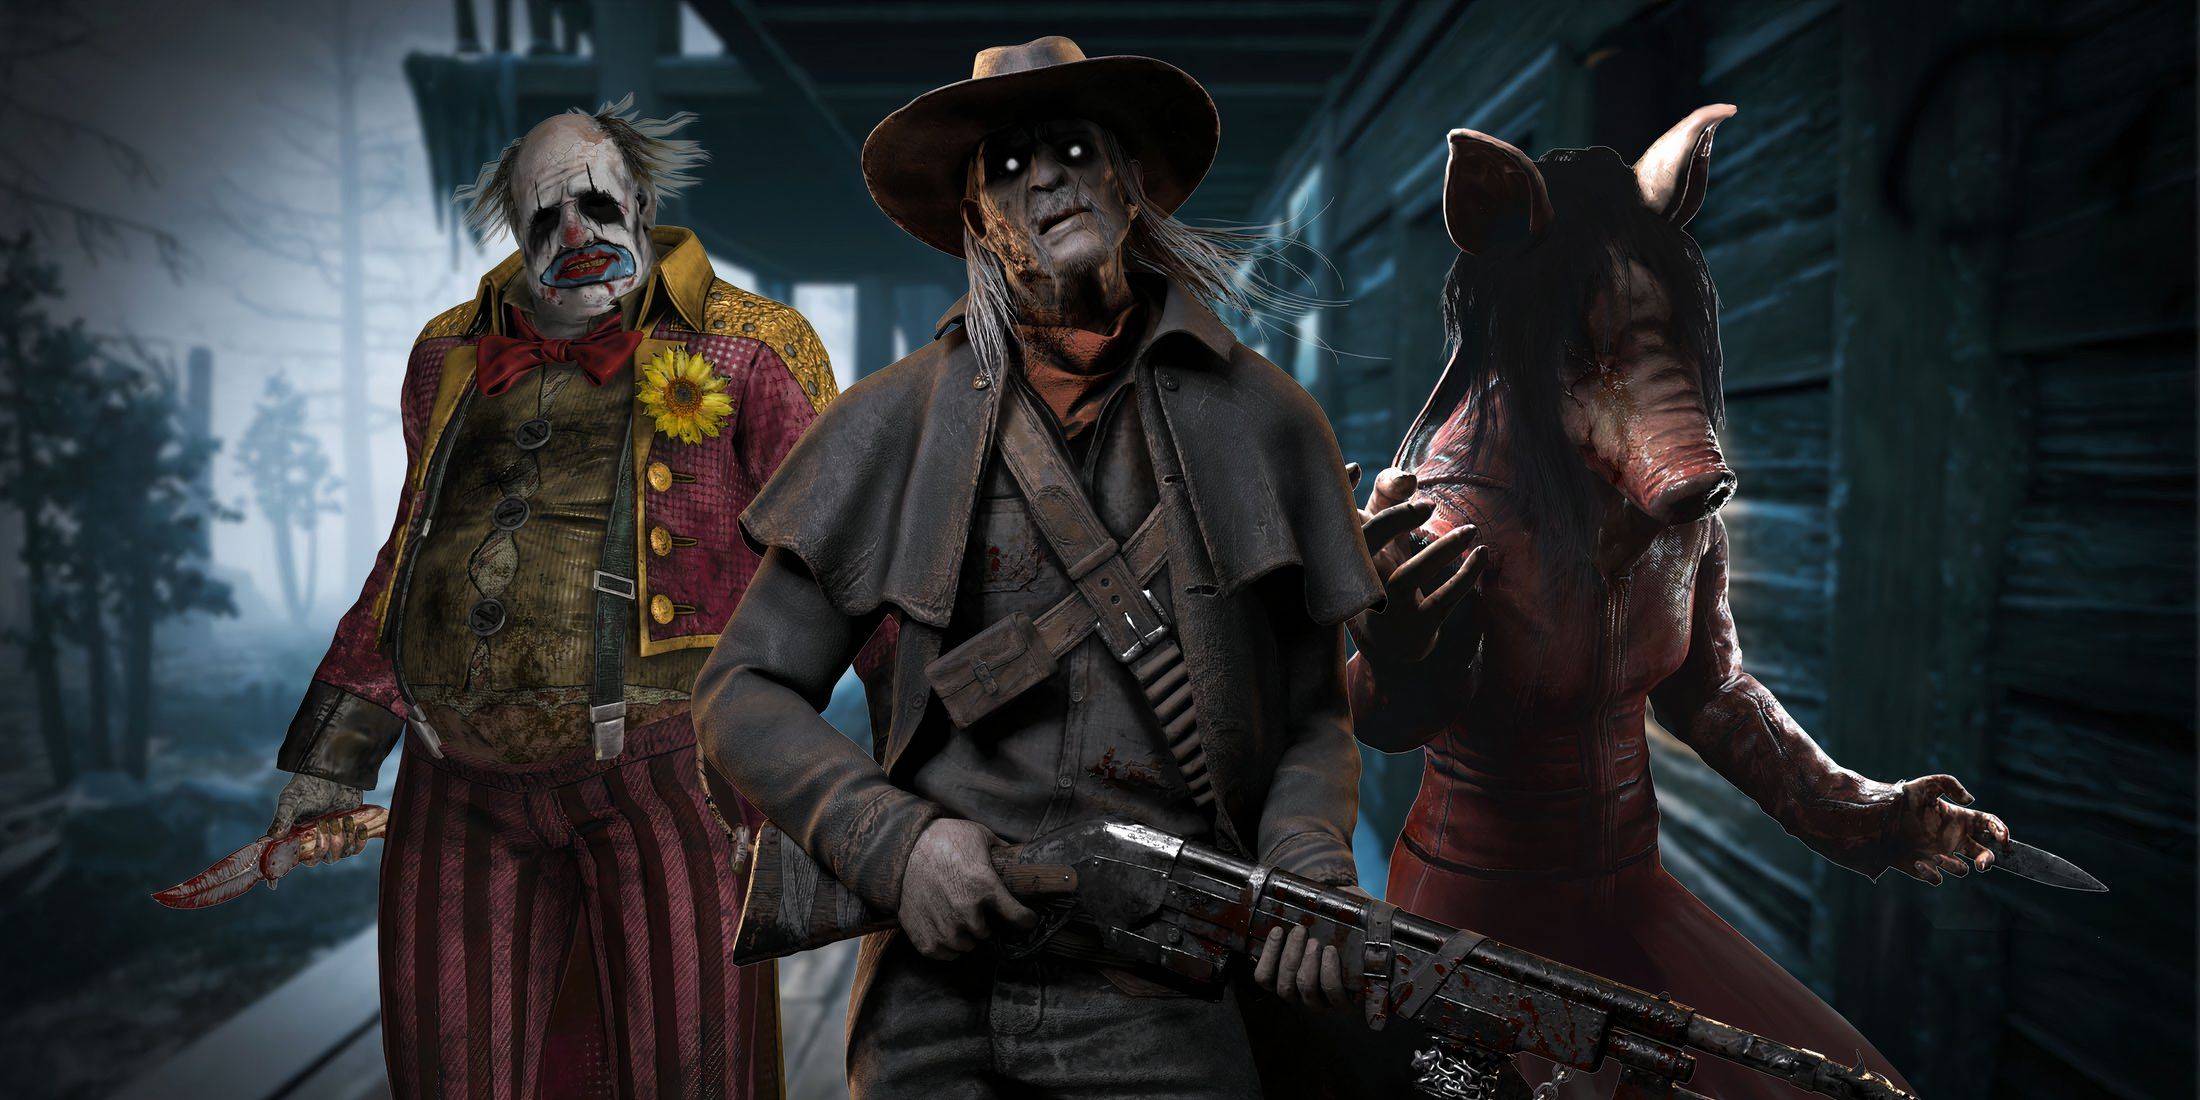
Top 15 Beginner-Friendly Killers in Dead By Daylight: How to Master Them
SummaryDead by Daylight features an impressive roster of 26 killers and maintains a strong player base with thousands of monthly players.Notable killers like The Demogorgon, The Clown, and Albert Wesker offer unique gameplay mechanics and strategies.New players are encouraged to start with beginner-
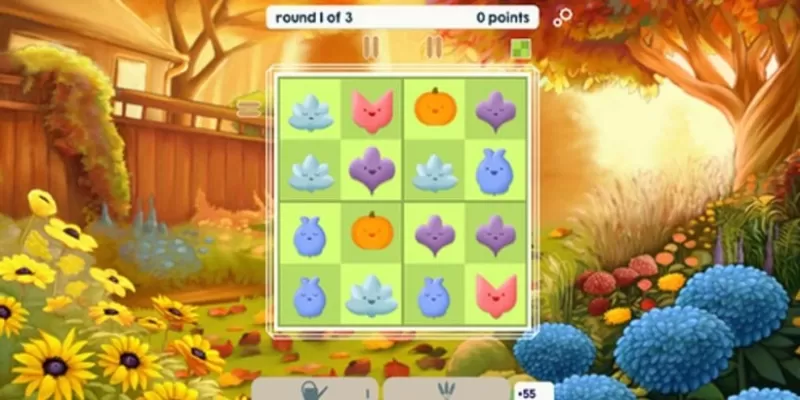
Primrows Sets Official Launch Date for Logic-Based Gardening Puzzler
If you have a soft spot for clever wordplay, Primrows will tickle your fancy with its charming garden-themed puns. To thrive in this game, you'll need to keep your botanical rows neat and tidy. As we hinted in our earlier coverage, Primrows offers a delightful experience, and we're thrilled to share
Latest Games

Trash Truck Simulator
Simulation丨83.2 MB
Live Bus Simulator
Simulation丨1.2 GB

My neighbor is a Yandere
Casual丨139.10M
LINE: Gundam Wars
Simulation丨88.2 MB
Blasteroid
Arcade丨37.2 MB

Armada Band Offline
Music丨23.7 MB

جميع أغاني إتحاد طنجة بدون نت
Music丨129.4 MB

Rádios de Sergipe (AM/FM)
Music丨14.1 MB
Trending Games
MORE +


![Salvation in Nightmare [v0.4.4]](https://imgs.21qcq.com/uploads/36/1719555347667e551321c26.jpg)


Top News
MORE +
01
11-14
Dead by Daylight is Officially Adding Lara Croft
Lara Croft is officially coming to Dead by Daylight, Behaviour Interactive has announced. It had long been speculated that Tomb Raider's protagonist would be joining Dead by Daylight's Survivor roster soon, but Behaviour has now put the rumors to rest. Just over a month after the release of
02
12-25
Vienna Opera Delight: Reverse 1.99 Update
Reverse: 1999 Version 1.7 Update: A Viennese Adventure Awaits!
Bluepoch Games' Reverse: 1999 is taking players on a trip back in time with its latest update, Version 1.7, launching players into the captivating world of early 20th-century Vienna in the new "E Lucevan Le Stelle" event. This update del
03
12-11
Disney Mirrorverse Ends Service This Year
Disney Mirrorverse, the mobile game that brought together an epic mashup of Disney and Pixar characters in a brand-new universe, has announced its EOS. Kabam, the company behind the game, just announced that they’ll be pulling the plug on December 16th, 2024.As of today, the game has already been pu
04
12-11
Pokémon GO Celebrates 8 Years with Exciting Raids and Bonuses!
Pokémon GO is celebrating its 8th anniversary with a week-long extravaganza! The festivities begin Friday, June 28th, at 10:00 a.m. and conclude Wednesday, July 3rd, at 8:00 p.m. Get ready for exciting new Pokémon debuts, boosted event bonuses, and enhanced raid and trading opportunities.
Here's a
05
02-02
Stalker 2: 2025 Roadmap Unveiled
With the new year just around the corner, GSC Game World has shared its plans and promises for 2025, offering a glimpse into the future of the S.T.A.L.K.E.R. franchise.
The team continues its dedication to refining S.T.A.L.K.E.R. 2, recently releasing a significant patch (1.1) addressing over 1,800
Topics
More +