"Connect Asus ROG Ally to TV or Monitor: Easy Guide"
Author : Eric
Apr 09,2025
The ROG Ally made waves in 2023 as an impressive alternative to the Steam Deck, primarily due to its Windows operating system, which grants access to a broader array of games. The subsequent launch of the ROG Ally X last year further enhanced its appeal, boasting improved internals and a more ergonomic design with enhanced cooling. While the device's primary allure lies in its portability, the flexibility to connect it to a larger screen for a more immersive gaming experience is a significant advantage. Both versions of the ROG Ally support connection to external displays, enabling you to enjoy your games on a TV or gaming monitor. Dive into our comprehensive guide below to learn how to connect your ROG Ally to a TV or monitor, complete with step-by-step instructions and recommendations.
How to Connect With an Adapter
Connecting your ROG Ally to a TV or monitor can be achieved through various methods, with an adapter being a compact and straightforward solution. Options range from a small dongle-style adapter and direct cables to the official ROG Gaming Charger Dock. Here's what you'll need:
What You'll Need
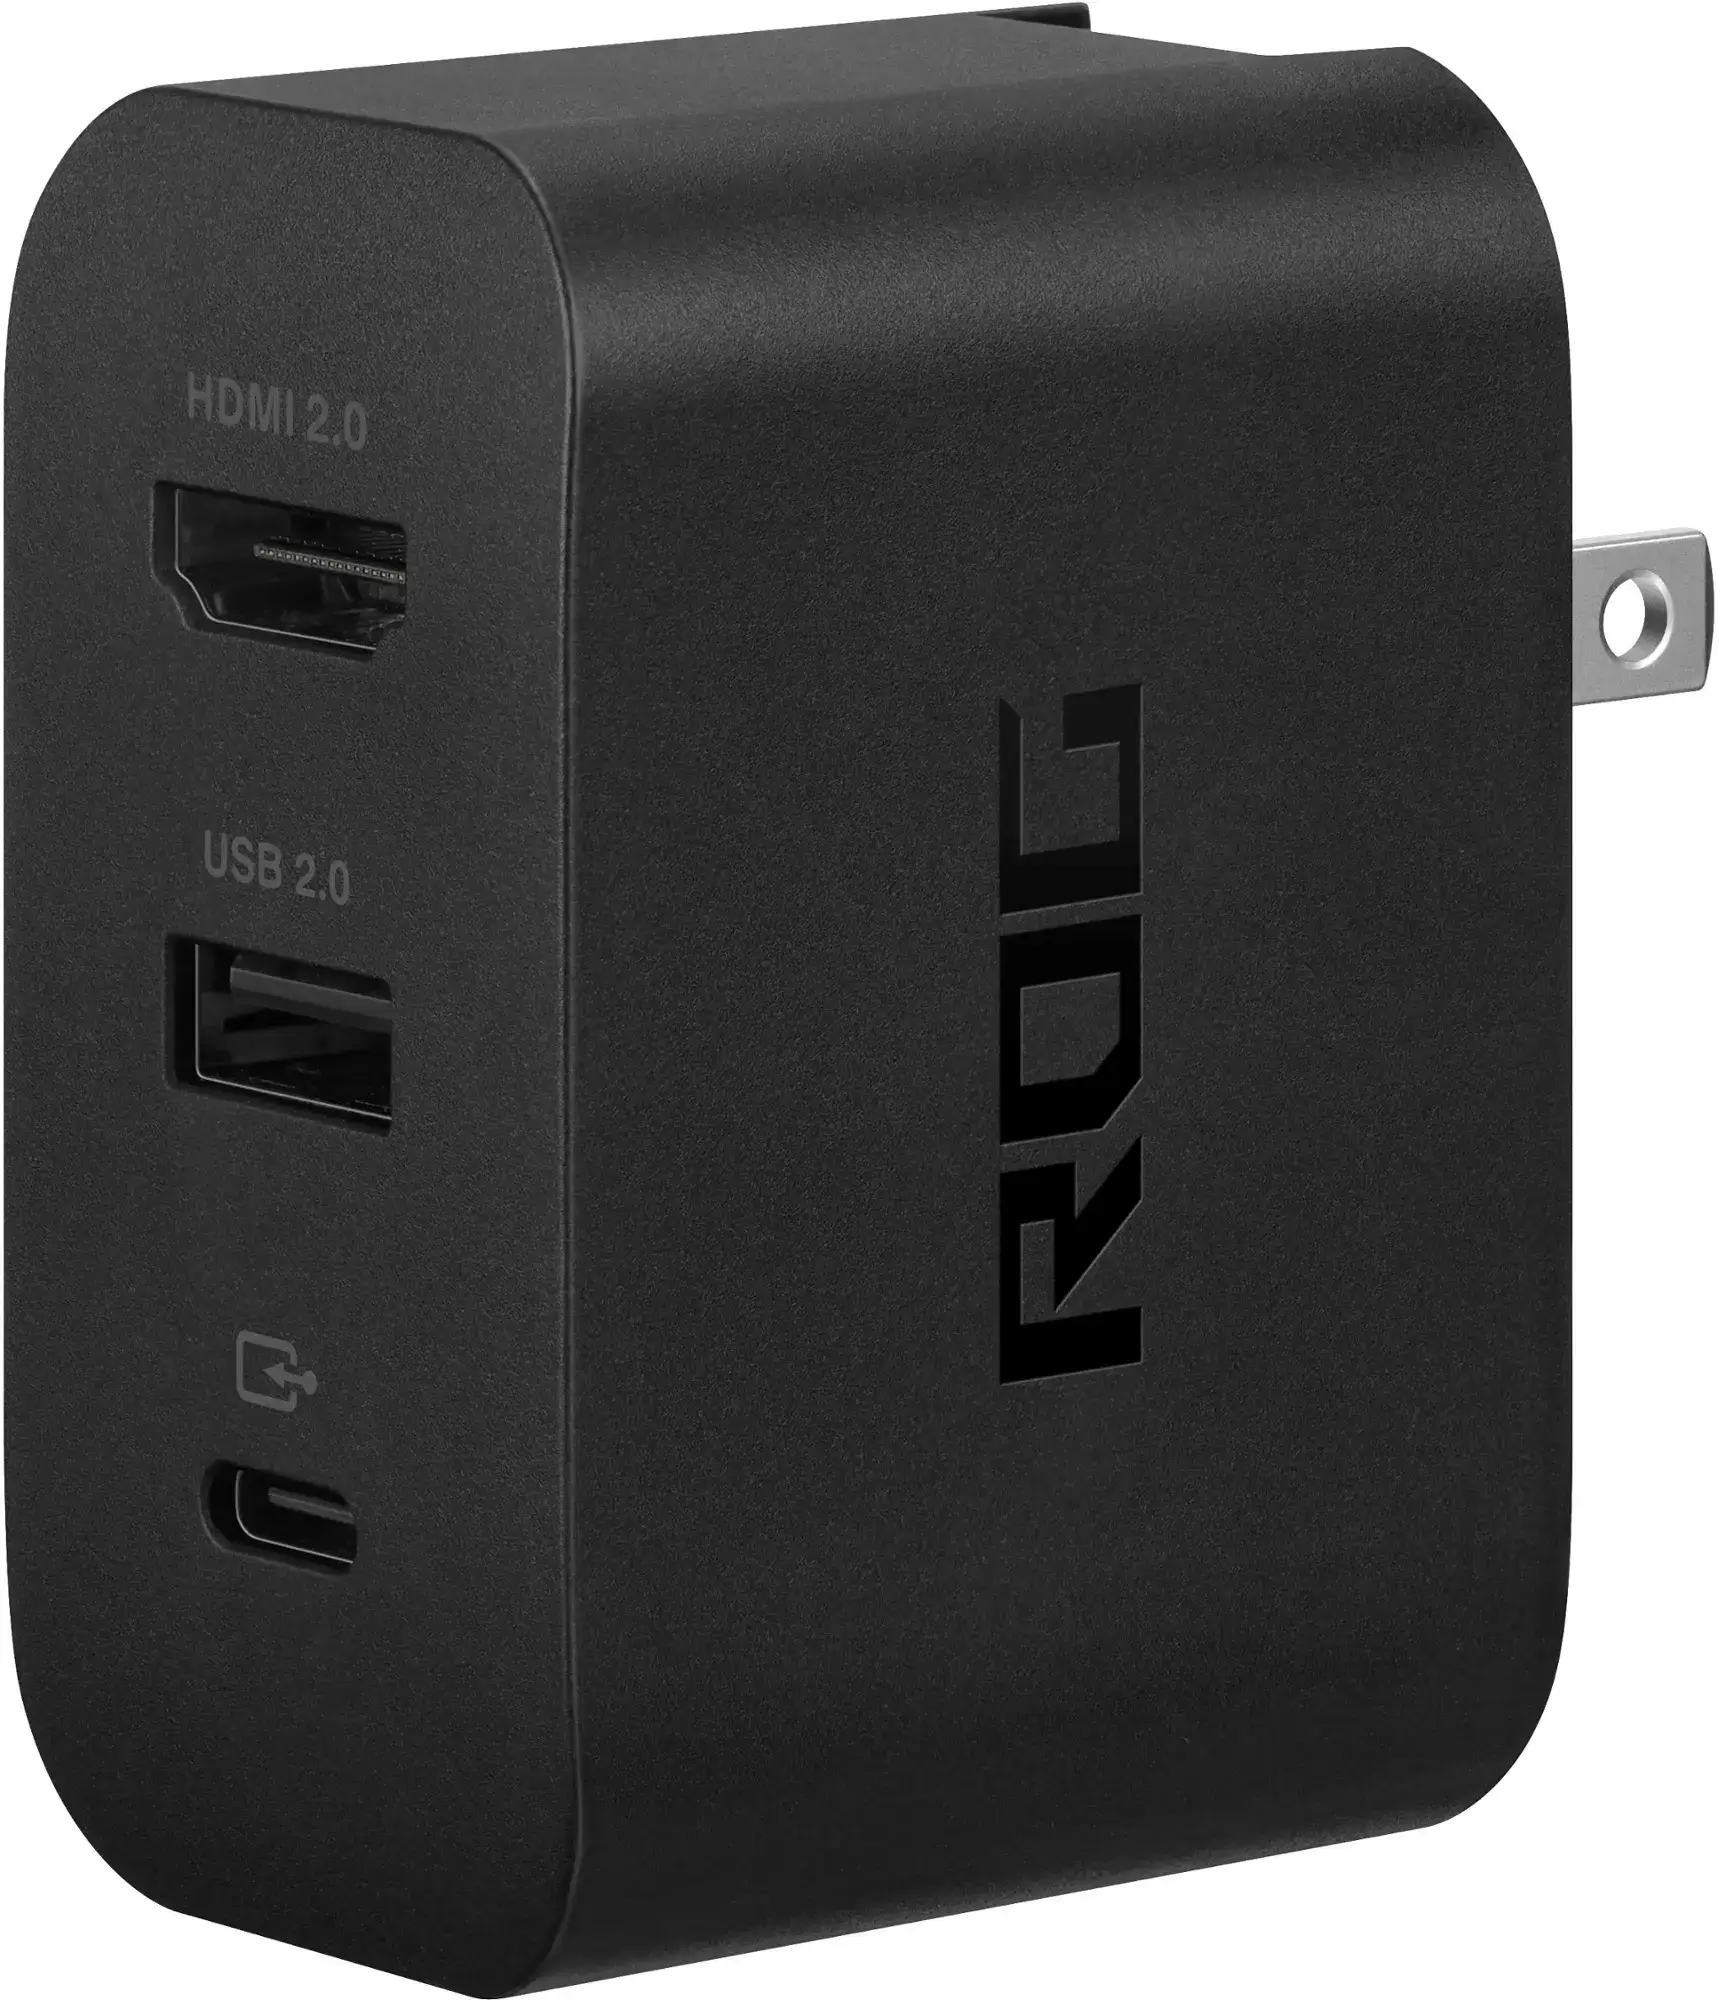
ASUS ROG 65W Charger Dock
0Supports HDMI 2.0 with USB Type-A and USB Type-C for ROG Ally.See it at Best BuyASUS has streamlined the process of connecting the ROG Ally to a TV. The most efficient adapter option is the official ROG Gaming Charger Dock, which also serves as a charger. You'll simply need a USB-C and HDMI cable to get started. Additionally, the dock features a USB-A port, perfect for connecting peripherals like a mouse or keyboard.
For a third-party solution, consider a USB-C to HDMI adapter, which you can plug directly into the ROG Ally's USB-C port. Connect an HDMI cable from the adapter to your TV or monitor. Alternatively, a USB-C to HDMI cable offers a one-cable solution directly from your ROG Ally to the display.
Some USB-C to HDMI adapters include a passthrough USB-C port, allowing you to charge your ROG Ally while playing. If your adapter has this feature, you'll need an additional USB-C cable and your power adapter.
How to Connect: Step-by-Step Instructions
- Plug a USB-C to HDMI adapter (or cable) into the ROG Ally's USB-C port on the top of the device. If using the ROG Gaming Charger Dock, connect one end of a USB-C cable to the ROG Ally and the other to the dock's USB-C charging port.
- Connect an HDMI cable from the adapter (or dock) to an available HDMI port on your TV or monitor. For a direct USB-C to HDMI cable, simply plug the HDMI end into your display.
- (Optional) If your adapter has a passthrough USB-C port, connect your ROG Ally's power adapter to charge during gameplay.
- Power on the ROG Ally; it should automatically detect and output the video signal.
- Switch your TV or monitor to the correct HDMI input to view the ROG Ally's display.
How to Connect With a Docking Station
For a setup reminiscent of the Nintendo Switch, consider using a docking station. Although the ROG Ally lacks an official docking station beyond the ROG Gaming Charger Dock, numerous third-party options exist. These docks not only connect your ROG Ally to a TV or monitor but also charge it simultaneously.
What You'll Need
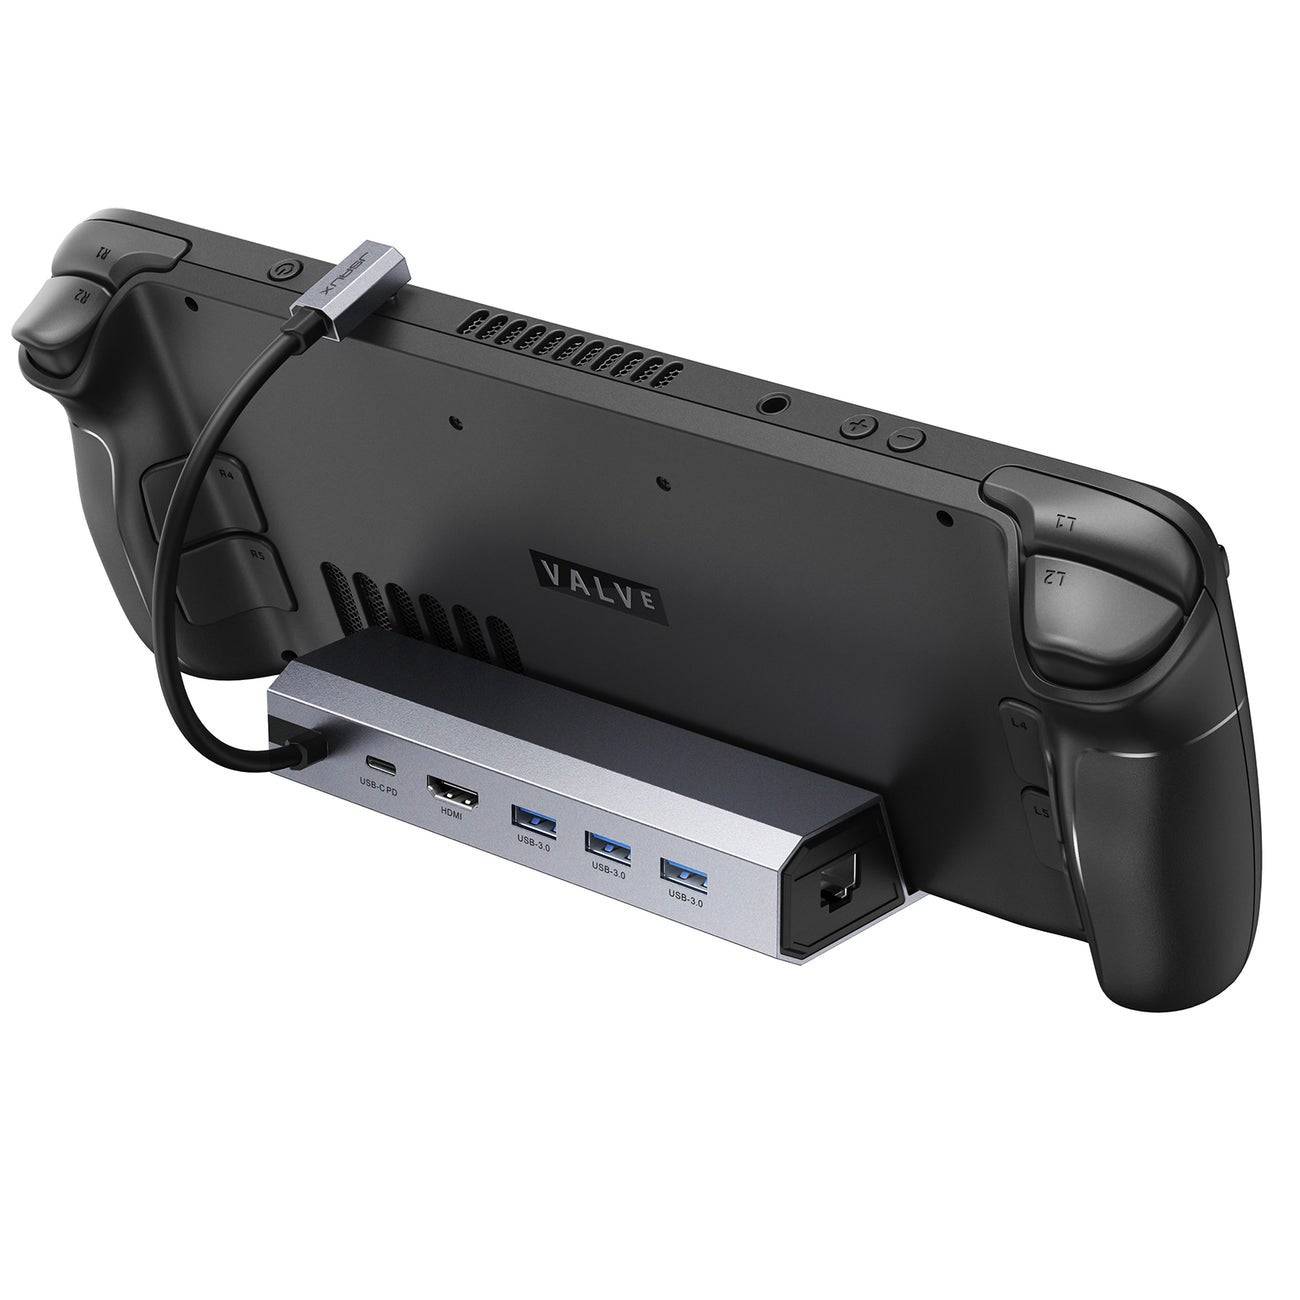
JSAUX Docking Station HB0603
2100 watts of power for fast charging and multiple ports are featured in this lightweight, compact dock that doubles as a stand.See it at AmazonBasic docks for the ROG Ally usually come with an HDMI port and a USB-C passthrough for charging. For a more robust setup, consider docks with additional USB ports for peripherals, external hard drives, Ethernet for stable internet, SD card slots for memory expansion, and even a Display Port for additional screens. Compact, portable docks are ideal for travel and connecting to larger displays on the go. Many docks compatible with the Steam Deck also work seamlessly with the ROG Ally.
How to Connect: Step-by-Step Instructions
- Place your ROG Ally into the dock.
- Connect the USB-C power cord to the ROG Ally's USB-C port.
- Attach your ROG Ally's power adapter to the dock's USB-C charging port.
- Connect an HDMI cable from the dock to an available HDMI port on your TV or monitor.
- Power on the ROG Ally; it should automatically detect and output the video signal.
- Switch your TV or monitor to the correct HDMI input to view the ROG Ally's display.
You'll Also Need a Controller
While you can use a mouse and keyboard with your ROG Ally's docking solution, a wireless controller offers a more comfortable gaming experience on larger displays. The ROG Ally supports any Bluetooth-enabled gaming controller. Below are our top picks for controllers, suitable for both the Steam Deck and ROG Ally:
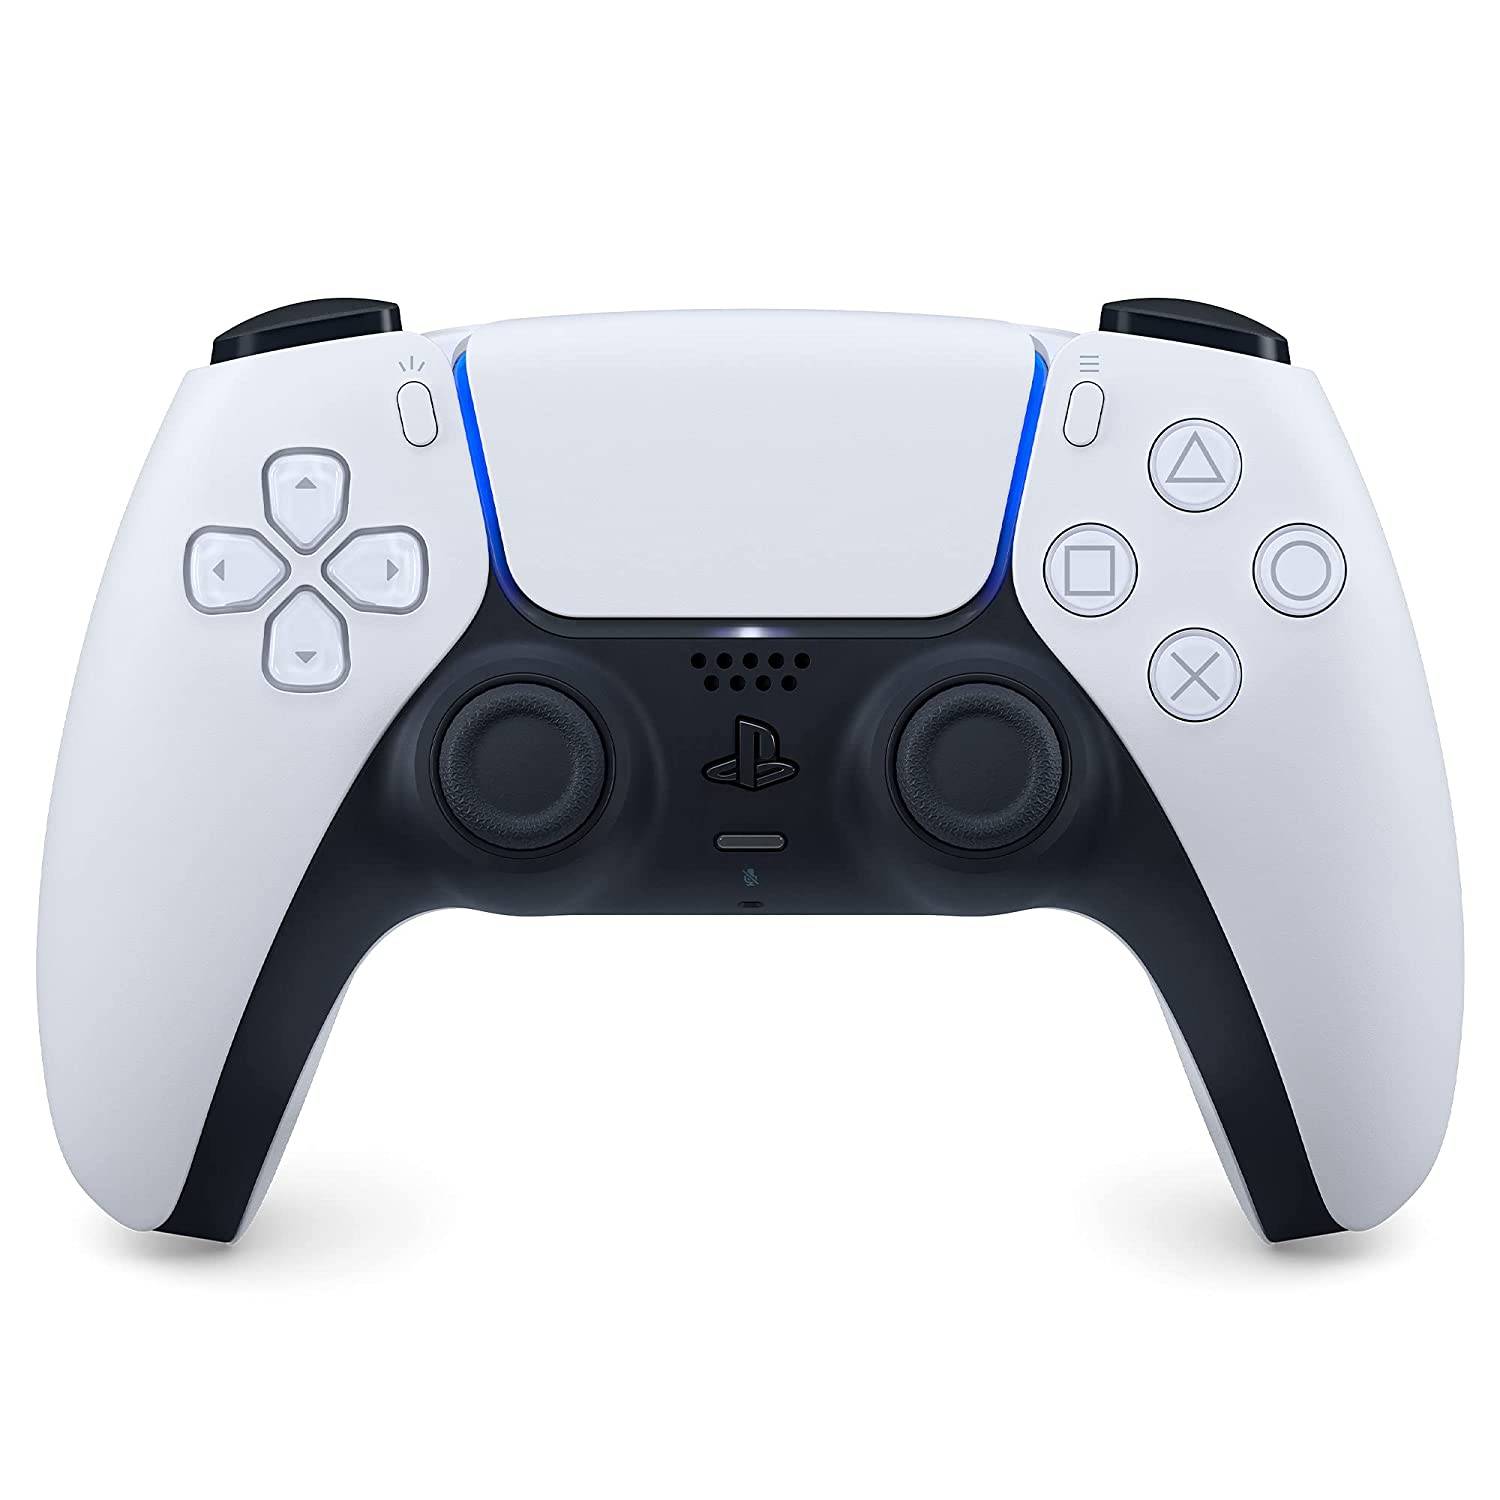
Sony DualSense
1See it at AmazonSee it at Best BuySee it at Target

Xbox Elite Series 2 Controller
4See it at AmazonSee it at Best Buy
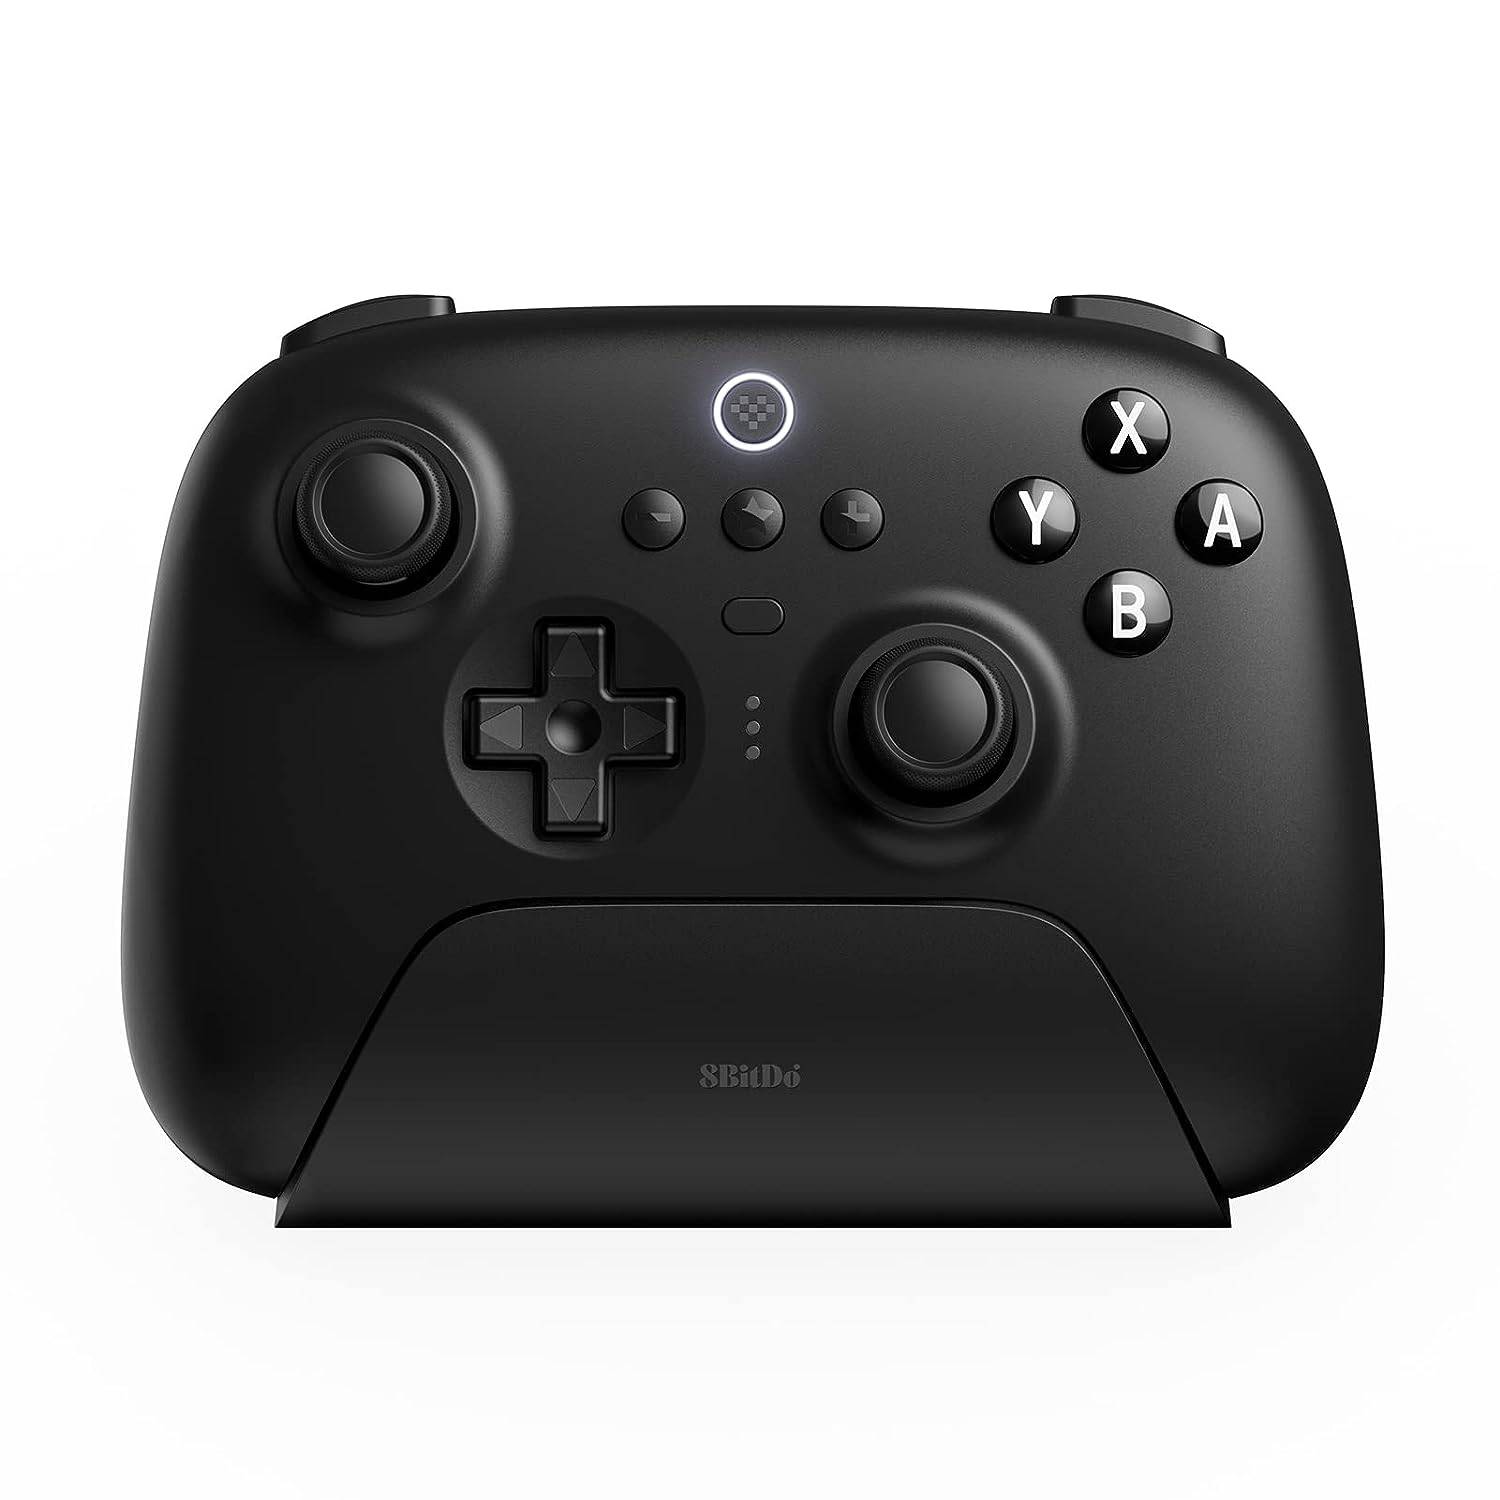
8BitDo Ultimate Controller
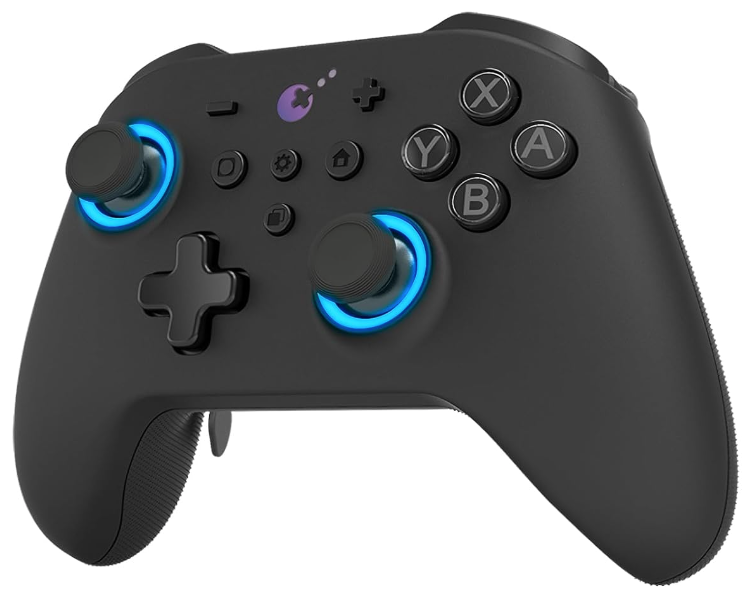
GuliKit KingKong 3 Max Controller
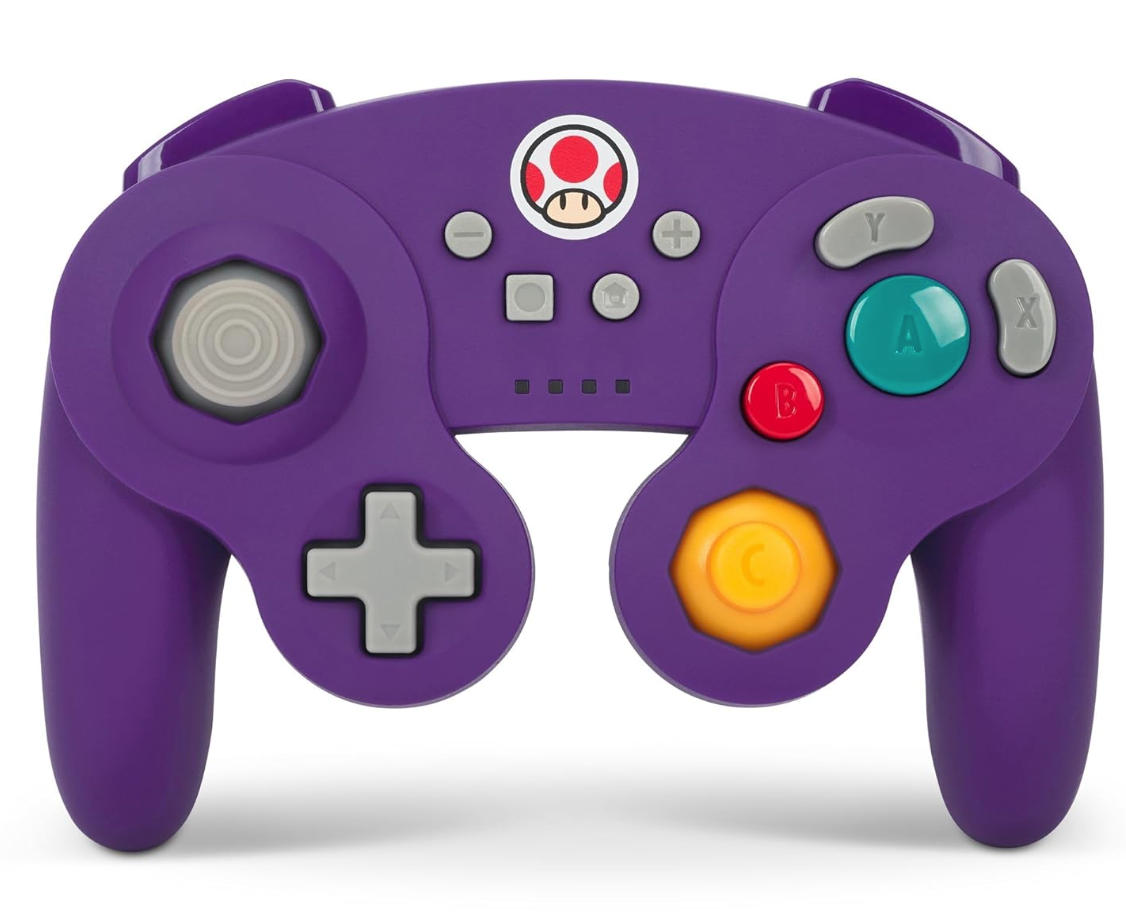
PowerA Wireless GameCube Style Controller
2See it at AmazonThis includes first-party options like the PS5's DualSense, the Xbox Wireless Controller, or the Nintendo Switch Pro Controller, along with various third-party controllers. Some controllers utilize a 2.4GHz wireless connection via a USB adapter, offering lower latency and better range compared to standard Bluetooth controllers. For a simpler setup, you can also opt for a wired USB controller if you're close enough to your ROG Ally or docking station.
Latest Articles

"Grand Piece Online Update: Balance Changes and New Turtleback Cave Island Revealed"
The long-running anime-inspired pirate adventure, Grand Piece Online, is set to enhance your Roblox experience with a thrilling February mini update. This update introduces the intriguing Turtleback Cave island, the powerful Kira fruit, and a host of other exciting features to keep players engaged a
New Mario Kart Courses and Characters Unveiled in World Direct
Nintendo unveiled a treasure trove of exciting updates during this morning's Mario Kart World Direct, showcasing the much-anticipated launch title for the Nintendo Switch 2. The Direct not only highlighted innovative gameplay mechanics but also confirmed an impressive lineup of new and returning tra
Digimon TCG Pocket to Revive Rivalry with Pokémon
Following the tremendous success of Pokémon TCG Pocket, Bandai Namco has unveiled Digimon Alysion, a new mobile card game set to captivate fans on iOS and Android. As a free-to-play online card battler, Digimon Alysion promises to bring the excitement of Digivolution to your fingertips, complete wit
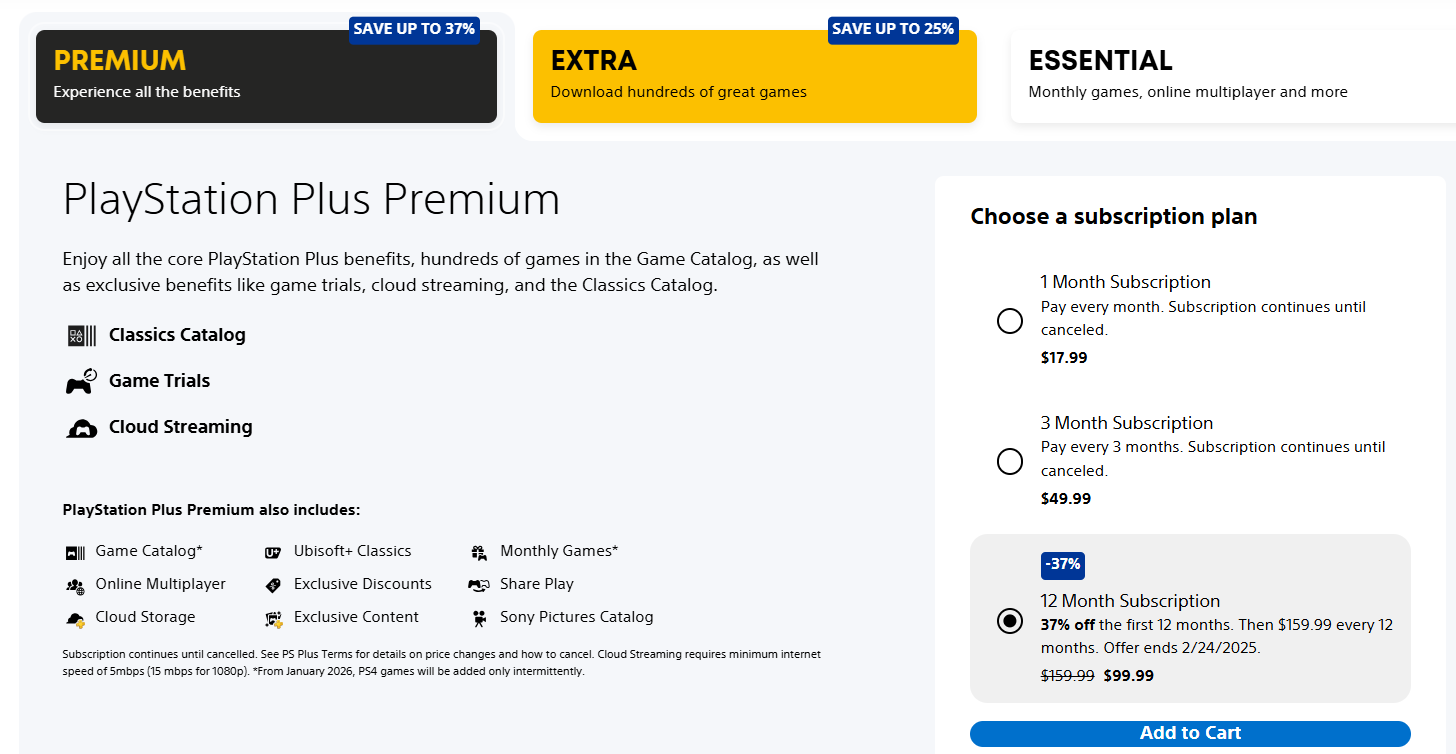
"PlayStation Plus Extra and Premium Now $99.99/Year for New, Expired Members"
Sony has unveiled an exciting new discount for PlayStation Plus members in the US and select European countries, offering a golden opportunity for those with expired memberships or new subscribers to join at a reduced rate. This promotion, running until February 24, allows you to subscribe to either

Asus ROG Ally Z1 Extreme: Save $200, Now $449.99
Starting this week, Best Buy is slashing $200 off the Asus ROG Ally Z1 Extreme gaming handheld, bringing the price down to just $449.99. This is the lowest price we've seen for a brand new unit, even lower than during Black Friday. Along with the discount, you'll also receive a free official ROG All

"Shambles: Sons of Apocalypse Launches on Android"
Gravity Co. has unleashed their latest Android game, *Shambles: Sons of Apocalypse*, a thrilling deckbuilding roguelike RPG. Imagine emerging from a bunker 500 years after humanity's near-total annihilation due to a catastrophic war. The world you step into is unrecognizable and teeming with new cha
Latest Games


Chance Cube
Card丨2.00M
![[777Real]NiGHTS~Dream Wheel~](https://imgs.21qcq.com/uploads/08/17302611106721b076bbcdc.jpg)
[777Real]NiGHTS~Dream Wheel~
Card丨50.90M


Magic Cleo Rush
Card丨7.40M


Pocket Empire
Strategy丨24.50M
Trending Games
MORE +

![Salvation in Nightmare [v0.4.4]](https://imgs.21qcq.com/uploads/36/1719555347667e551321c26.jpg)


Top News
MORE +

01
11-14
Dead by Daylight is Officially Adding Lara Croft
Lara Croft is officially coming to Dead by Daylight, Behaviour Interactive has announced. It had long been speculated that Tomb Raider's protagonist would be joining Dead by Daylight's Survivor roster soon, but Behaviour has now put the rumors to rest. Just over a month after the release of
02
12-11
Disney Mirrorverse Ends Service This Year
Disney Mirrorverse, the mobile game that brought together an epic mashup of Disney and Pixar characters in a brand-new universe, has announced its EOS. Kabam, the company behind the game, just announced that they’ll be pulling the plug on December 16th, 2024.As of today, the game has already been pu
03
12-11
Pokémon GO Celebrates 8 Years with Exciting Raids and Bonuses!
Pokémon GO is celebrating its 8th anniversary with a week-long extravaganza! The festivities begin Friday, June 28th, at 10:00 a.m. and conclude Wednesday, July 3rd, at 8:00 p.m. Get ready for exciting new Pokémon debuts, boosted event bonuses, and enhanced raid and trading opportunities.
Here's a
04
12-25
Vienna Opera Delight: Reverse 1.99 Update
Reverse: 1999 Version 1.7 Update: A Viennese Adventure Awaits!
Bluepoch Games' Reverse: 1999 is taking players on a trip back in time with its latest update, Version 1.7, launching players into the captivating world of early 20th-century Vienna in the new "E Lucevan Le Stelle" event. This update del
05
11-16
Krafton's Gamescom lineup to feature Dark & Darker Mobile, Inzoi and PUBG
Game developer Krafton has unveiled its upcoming Gamescom 2024 lineup!Check out what's going to be featured on the show floorInzoi, Dark & Darker Mobile and PUBG will all be representedGamescom 2024 is right around the corner, and it's one of the most-visited consumer gaming shows on the planet. Com
Topics
More +