Complete Demonology Equipment Guide
Author : Nicholas
Apr 07,2025
Identifying Ghosts in Demonology can quickly turn into a guessing game if you aren’t using all of the equipment available to you. To ensure you're fully equipped and don't have to rely on guesswork, follow our comprehensive **Demonology equipment guide** below.
How to Buy and Use Equipment in Demonology
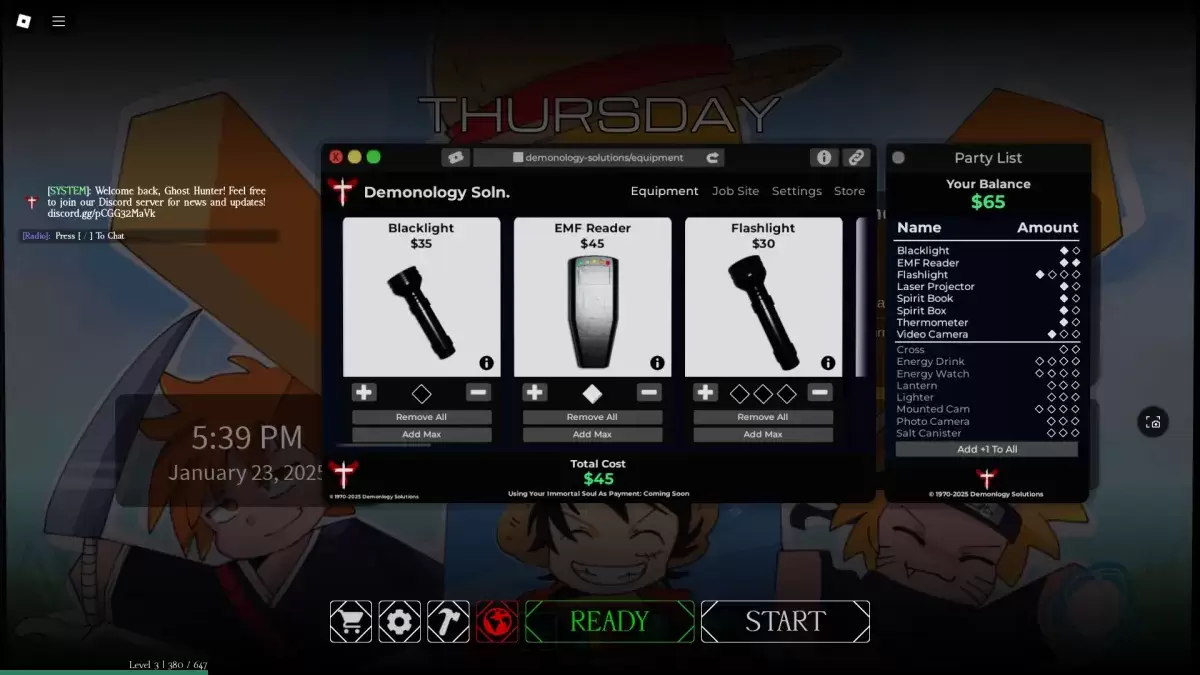
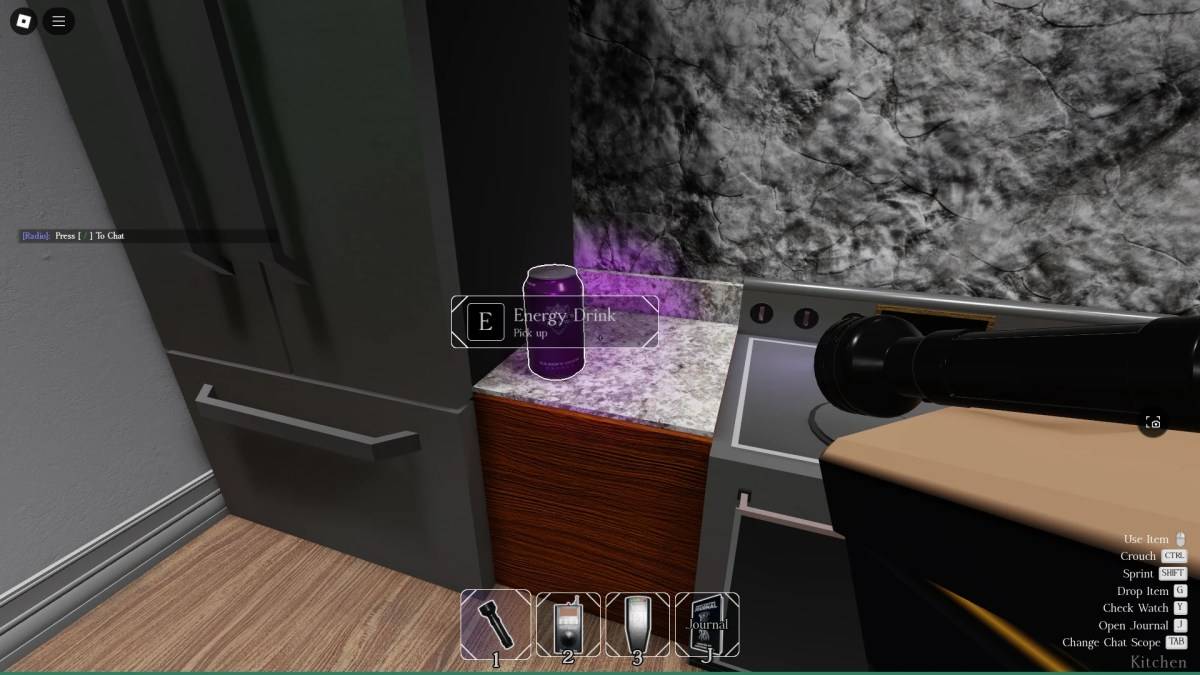
Before embarking on a Demonology run, you have the opportunity to **purchase additional equipment**. Keep in mind that the **items** you buy will be **available only for the next run**, so it's crucial to spend your money wisely. Additionally, some items may spawn within the investigation areas. You can carry up to three items at once. To use a piece of equipment, simply press the **RMB (M2)** button, and to drop it, press the **G** key.
Evidence Equipment in Demonology
Evidence equipment is **crucial for identifying** **Ghosts** in Demonology. These tools are primarily used to **gather the evidence** necessary to determine the type of Ghost you're facing. For a deeper dive into ghost identification, check out our guide on how to identify Ghosts in Demonology. Moreover, evidence equipment can be used to **entice Ghosts to manifest**, making it easier to capture photos of them.
| Item | Use | Party limit | Price |
|---|---|---|---|
| **Blacklight** | • Activate the Blacklight to search for fingerprints, handprints, or footprints left by Ghosts. | 2 | $35 |
| **EMF Reader** | • Use the EMF Reader to detect Ghost activity nearby. It lights up and makes a sound when it senses a Ghost. You can also throw it on the ground to use it as a perimeter scanner. | 2 | $45 |
| **Laser Projector** | • Turn on the Laser Projector and place it on the ground. It emits beams that highlight any Ghosts moving nearby. | 2 | $65 |
| **Spirit Book** | • Leave the Spirit Book on the ground. If a Ghost that leaves Spirit Book evidence is nearby, it will pick up the book and write in it. | 2 | $40 |
| **Spirit Box** | • Use the Spirit Box to communicate with nearby Ghosts through various dialogue options. Note that Ghosts may choose to ignore your attempts to communicate. | 2 | $50 |
| **Thermometer** | • Activate the Thermometer to monitor the current temperature. Normal room temperature ranges from 15-19 degrees; deviations could indicate a Ghost's presence. | 2 | $30 |
| **Video Camera** | • Use the Video Camera to view Ghost Orbs. You can place it on the ground and monitor it via the PC at the spawn point. | 3 | $50 |
Optional Equipment in Demonology
Optional equipment in Demonology is designed to help you survive and achieve secondary mission objectives. Like all equipment, there's a limit to how many you can bring into a run as a party.
| Item | Use | Party limit | Price |
|---|---|---|---|
| Flashlight | • Use the Flashlight to illuminate a cone-shaped area in front of you. | 4 | $30 |
| Cross | • Use the Cross to repel a Ghost that has started hunting someone. | 2 | $30 |
| Energy Drink | • Consume the Energy Drink to restore some of your Energy. | 4 | $30 |
| Energy Watch | • Activate the Energy Watch to check your remaining Energy. | 4 | $50 |
| Lantern | • Hold the Lantern to prevent your Energy from draining passively. | 3 | $15 |
| Lighter | • Use the Lighter to ignite the Lantern and candles, or as a light source. | 3 | $10 |
| Mounted Cam | • Similar to the Video Camera, but can be equipped alongside other items. Monitor it through the PC next to the spawn point. | 4 | $50 |
| Photo Camera | • Use the Photo Camera to take pictures of Ghosts and other objects, helping you complete optional objectives. | 3 | $40 |
| Salt Canister | • Use lines of Salt to ward off some Ghosts and secure handprint evidence. | 3 | $15 |
**This comprehensive guide covers everything you need to know about equipment in Demonology. For more Roblox guides, be sure to visit the Roblox guides section of Escapist.**
Latest Articles
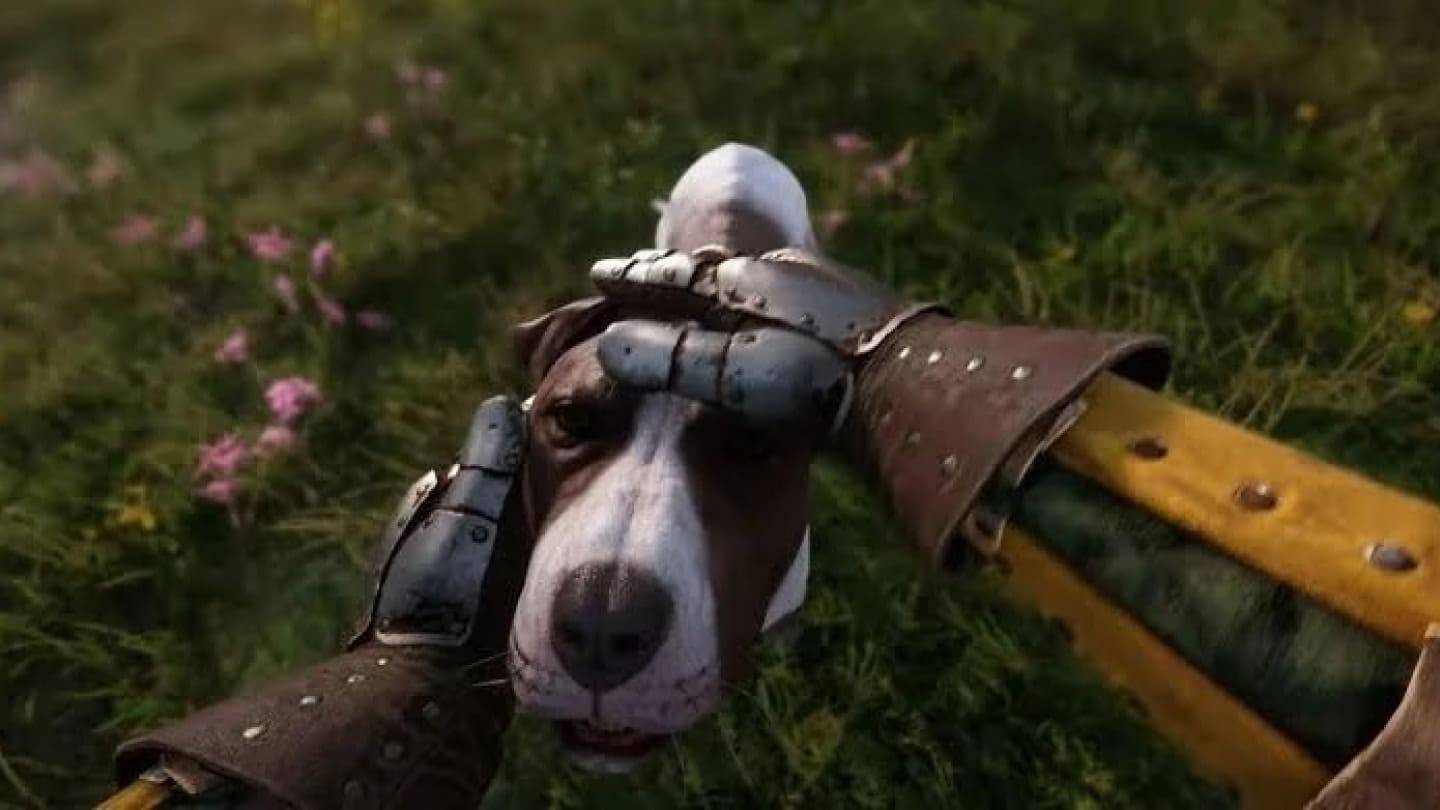
"Actor Portrays Dog in Kingdom Come: Deliverance 2"
In the much-anticipated sequel, *Kingdom Come: Deliverance 2*, the beloved canine companion Mutt has captured the hearts of fans. However, an intriguing behind-the-scenes revelation has come to light: Mutt was not brought to life through traditional motion capture with a real dog. Instead, the devel
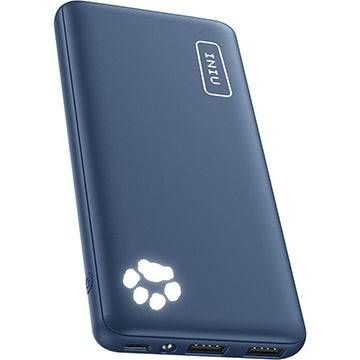
The Compact Iniu 10,000mAh USB Power Bank Just Dropped to $9.99 on Amazon
For a limited time, Amazon is offering an incredible deal on the popular INIU 10,000mAh USB power bank, now available for just $9.99 after clipping the 50% off coupon on the product page. It's rare to find a 10,000mAh power bank for under $10, so this is an opportunity you won't want to miss. INIU p
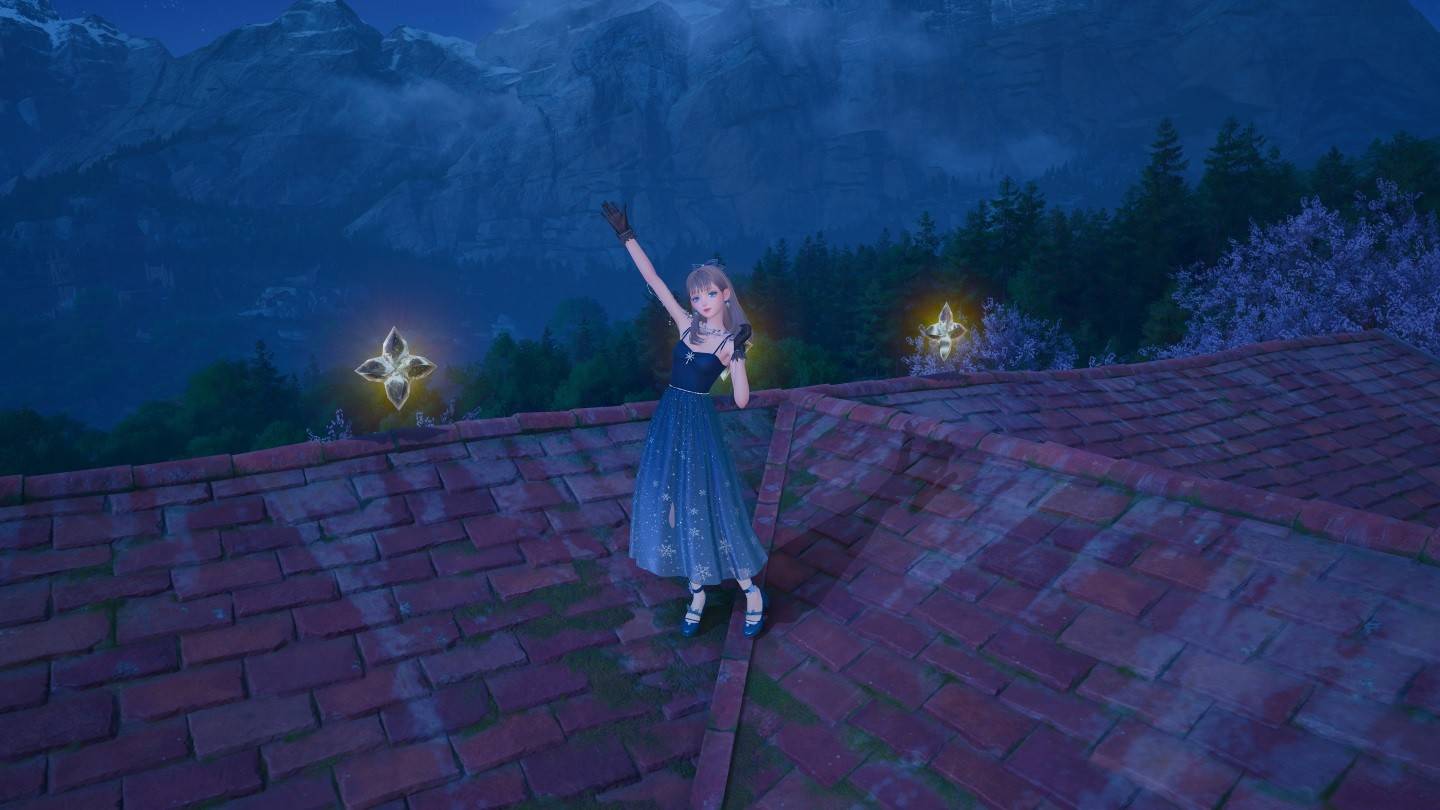
"Discover Bling Spending Spots in Infinity Nikki"
Previously, I shared insights on how to earn Bling in the game. Now, let's dive into the exciting world of spending your hard-earned Bling in Infinity Nikki. From enhancing your wardrobe to unlocking new features, there's a plethora of ways to make your gaming experience both interesting and enjoyab

Unlock Jasmine in Disney Dreamlight Valley: A Guide
Exciting news for *Disney Dreamlight Valley* players: the free Tales of Agrabah update has arrived, bringing Aladdin and Princess Jasmine into the enchanting world of Dreamlight Valley. Here's your guide to unlocking Jasmine and inviting her to make Dreamlight Valley her new home.Where To Find Jasmi
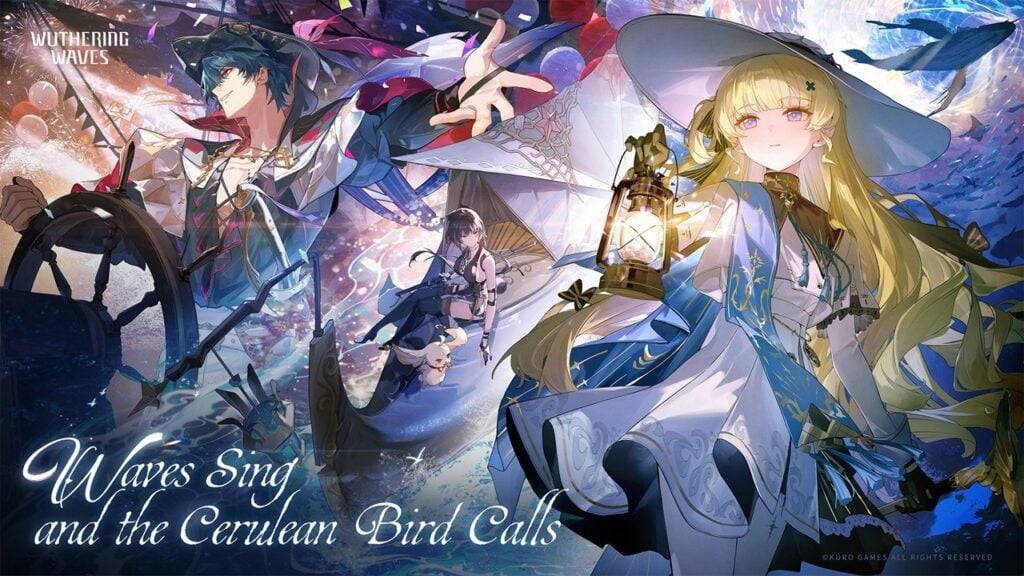
Wuthering Waves 2.1 Phase II: New Convene Events Unveiled
Get ready, Wuthering Waves fans! Phase II of Version 2.1 is set to launch on March 6th, bringing with it a wave of exciting new events, Resonators, weapon banners, and heaps of rewards. Here's everything you need to know to make the most of this update.
What’s Happening?
Starting March 6th, dive int
Xbox's Phil Spencer to Continue Featuring PlayStation, Nintendo Logos at Microsoft Events
Microsoft has recently begun to highlight that its games will be available on rival platforms during Xbox showcases, reflecting the company's shift towards a multiplatform video game strategy. This change has been evident in the last few months. For instance, during the recent Xbox Developer Direct,
Latest Games
Stunt Moto
Casual丨22.6 MB

Cyberpunk Box
Casual丨31.8 MB


脱出ゲーム -新館- やすらぎの湯からの脱出
Casual丨89.1 MB

Crow Flying
Casual丨22.9 MB
Dirt Track Racing
Casual丨17.5 MB

Find The Cat - Spot It!
Puzzle丨126.90M

히어로 키우기: 방치형 RPG
Casual丨17.3 MB
Trending Games
MORE +

![Salvation in Nightmare [v0.4.4]](https://imgs.21qcq.com/uploads/36/1719555347667e551321c26.jpg)


Top News
MORE +

01
11-14
Dead by Daylight is Officially Adding Lara Croft
Lara Croft is officially coming to Dead by Daylight, Behaviour Interactive has announced. It had long been speculated that Tomb Raider's protagonist would be joining Dead by Daylight's Survivor roster soon, but Behaviour has now put the rumors to rest. Just over a month after the release of
02
12-11
Disney Mirrorverse Ends Service This Year
Disney Mirrorverse, the mobile game that brought together an epic mashup of Disney and Pixar characters in a brand-new universe, has announced its EOS. Kabam, the company behind the game, just announced that they’ll be pulling the plug on December 16th, 2024.As of today, the game has already been pu
03
12-11
Pokémon GO Celebrates 8 Years with Exciting Raids and Bonuses!
Pokémon GO is celebrating its 8th anniversary with a week-long extravaganza! The festivities begin Friday, June 28th, at 10:00 a.m. and conclude Wednesday, July 3rd, at 8:00 p.m. Get ready for exciting new Pokémon debuts, boosted event bonuses, and enhanced raid and trading opportunities.
Here's a
04
12-25
Vienna Opera Delight: Reverse 1.99 Update
Reverse: 1999 Version 1.7 Update: A Viennese Adventure Awaits!
Bluepoch Games' Reverse: 1999 is taking players on a trip back in time with its latest update, Version 1.7, launching players into the captivating world of early 20th-century Vienna in the new "E Lucevan Le Stelle" event. This update del
05
11-16
Krafton's Gamescom lineup to feature Dark & Darker Mobile, Inzoi and PUBG
Game developer Krafton has unveiled its upcoming Gamescom 2024 lineup!Check out what's going to be featured on the show floorInzoi, Dark & Darker Mobile and PUBG will all be representedGamescom 2024 is right around the corner, and it's one of the most-visited consumer gaming shows on the planet. Com
Topics
More +